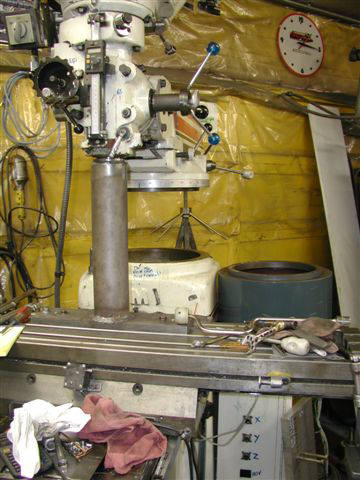
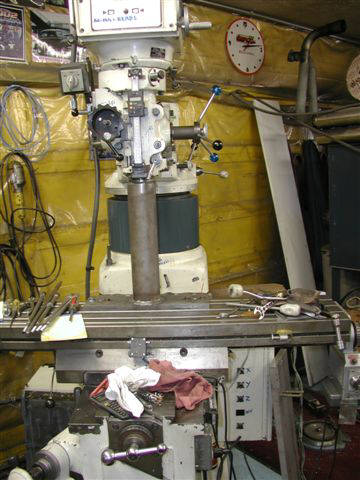
To do certain automotive things like seat & bowl machining and decking blocks on my 10x54 mill
I just never had the height so I had to install a riser block.
-First issue was to actually locate one that would supposedly fit and I had no idea what brand my mill was so I bought a riser block for a mill that looked similar.
-I actually got up inside the mill housing and got some crude measurements and looked at riser block dimensions before I made my final decision of which brand to buy.
-Seems like I paid $300 to $400 for the block and the "spider" which is a 4 legged cast iron clamp piece that has the threads for the long bolts to screw into---and this included freight.
--------------------------------------------------------------------------
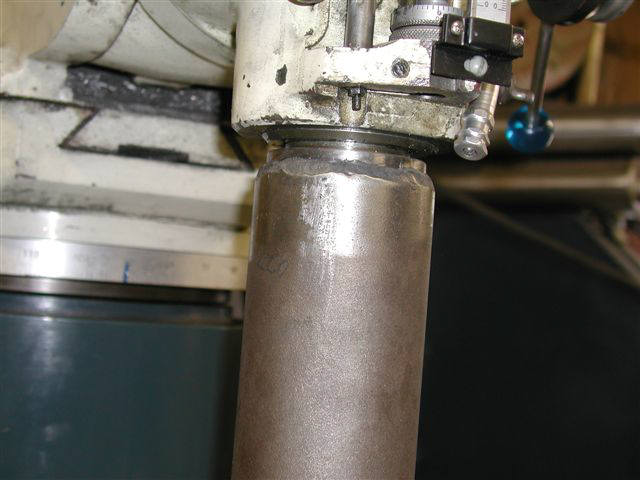
Next issue was to figure out how to lift the entire upper head part of the milling machine and off the main body a little over 10" so that I could get the 8" riser which has about 5/8" internal step to clear another internal step of the mill itself.
--------------------------------------------------------------------------
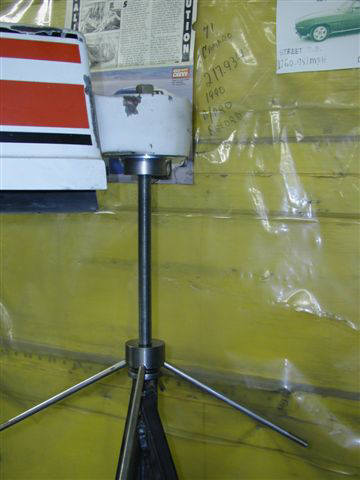
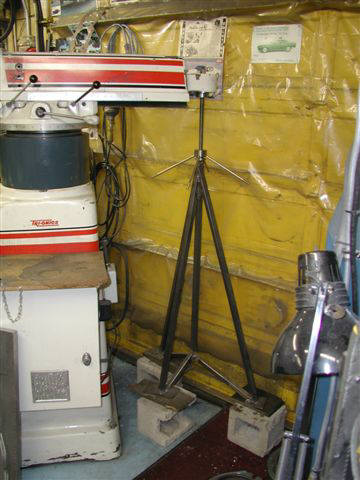
For the rear of the mill I devised a jack to fit into a large protrusion with a 3/4" hole.
-I used a long length of 3/4"NF all thread rod and made a large nut that I could screw some long handles into.
-The all thread is bolted solid thru the hole in the protrusion---and on the nut I used a 3/4" torrington thrust washer assembly to reduce some of the torque needed when screwing the large nut and lifting all that weight.
-------------------------------------------------------------------------
On the front of the mill---on the OD of the rotating spindle is a large male thread--so I machined up a large nut to fit those threads and welded that nut to a pipe of large heavy wall tubing.
-This tube is about 14" long---and I welded a plate of steel to the bottom with 4 bolt holes so I could bolt the plate to the mill table.
-Plan was to start with the knee (table) lowered and raise it up using the knee (Z axis) power feed.
--------------------------------------------------------------------------
All of this effort towards lifting the top worked out real good----except that by myself I had to work back and forth between the front and the rear moving each end up about 3/16" at a time---so that was a fairly tedious couple of hours.
-------------------------------------------------------------------------
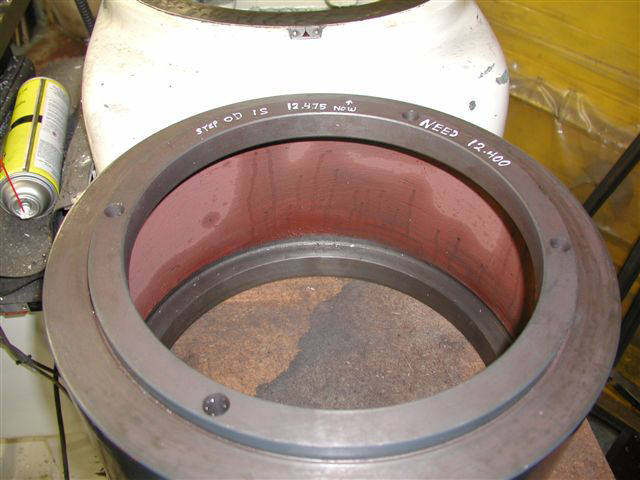
Once I got the mill all jacked up then I could get a set of 12" dial calipers in there and measure the hole and the step diameters.
-I found that the riser block step OD was .075" too large so I happened to have a friend who's lathe was capable of swinging that large riser block by about 3/16".
---------------------------------------------------------------------------
-Then I also found that the ID of the riser block was too large by about .075" so it was way too loose on to the step of the mill.
-After looking at this for a few minutes I decide to use some large pop rivet heads----I drilled about eight 3/16" holes around the perimeter of the step---pushed the pop rivet heads into the holes to use for spacers----filed them slightly and then greased the riser block bearing surfaces----lifted the riser block up and dropped it into place.
---------------------------------------------------------------------------
One thing I found out is---once that heavy block drops down into place----it's just about impossible to get back up out of there.
-But it seemed to fit good so I lowered the top of the mill but left the jacks in place until I fabricated the long bolts.
--------------------------------------------------------------------------
The long bolts are sort of a project because the threads of the "spider" are something like a 1/2-11 rather than a common 1/2-13.
-So I measured up the overall lengths--the shank lengths---the thread lengths etc and I used 5/8" hex bar stock.
-My lathe has threading capabilities so I checked the old bolts to make sure they were the same thread angle as my threading tool and machined the threads----cut the shank length to size etc.
-I used thick 1/2" hardened headbolt washers under the hexs.
----------------------------------------------------------------------------
When it was all said and done the preparation and installation this riser block was about a full week long "event".
----------------------------------------------------------------------------
The riser block has allows me to do MANY large projects---in particular the decking of engine blocks.
-One new problem was that now I had to have some way to get the big heavy race blocks up and onto the mill which I have constructed an overhead swing arm hoist that bolts to the top of the mill with ONE large bolt.
-Then I use a 3" diameter air cylinder that has about 16" travel to lift a block up from a roll around table up onto the main bearing bar.
-------------------------------------------------------------------------------
Another niggly problem is when you want to mill something like a plate of 1" thick aluminum you now have to use some sort of spacers to raise the plate up from the mill table a few inches because you can't get the quill down and the mill table up quite far enough to mill short projects.


Bill Jones' Photo Gallery Page 10
Installing 8" Riser Block on Vertical Mill